
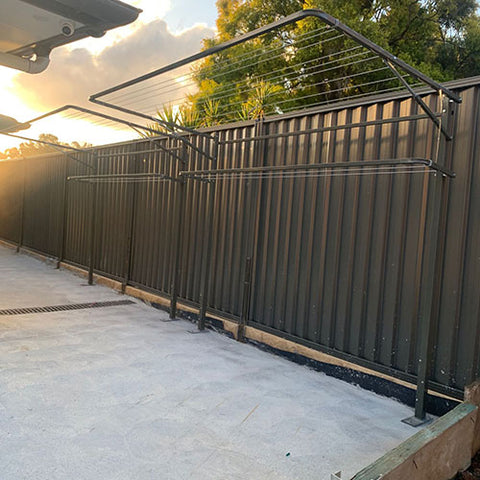
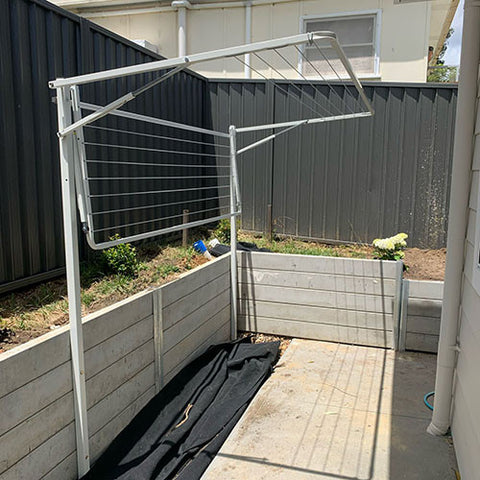
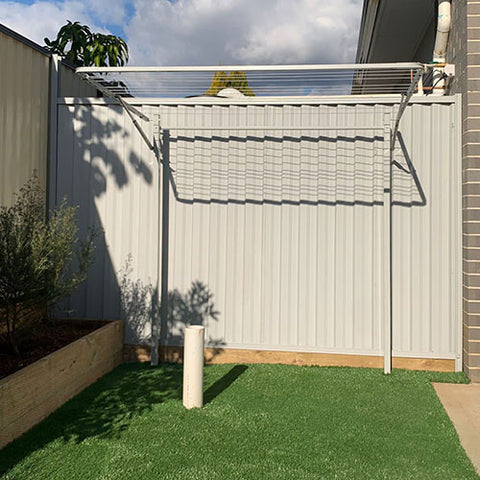
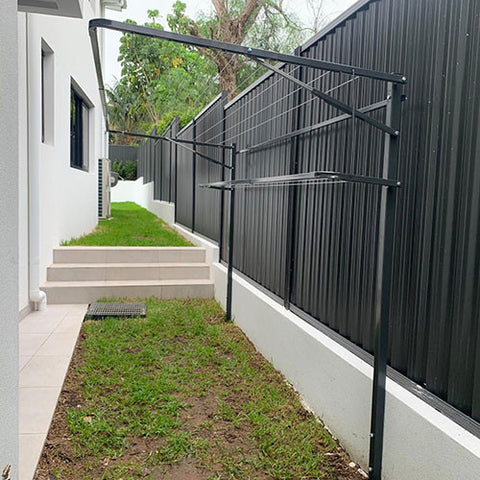
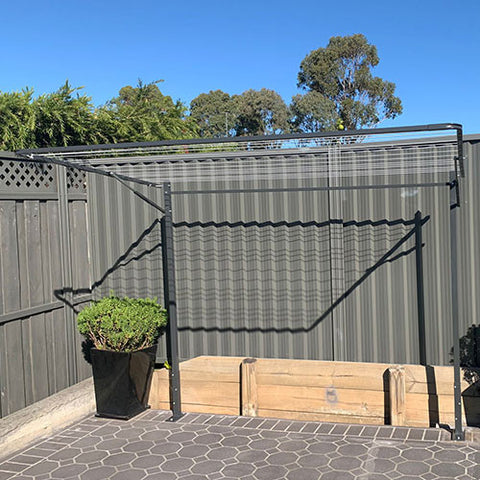
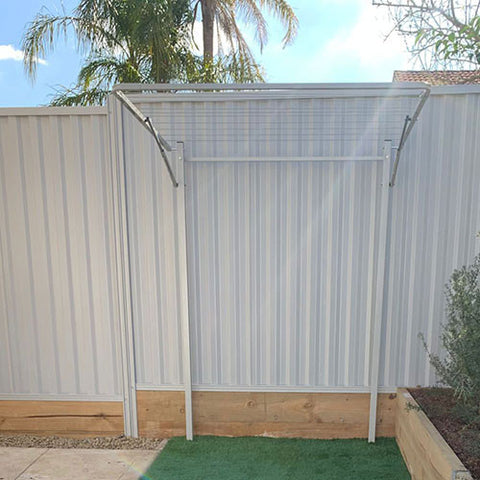
🛠️Installation Ground Mount - Sydney & Our Products Only
We have been installing Outback Clotheslines products in Sydney since 1970 and have perfected the craft. Check description for step-by-step of what we will be doing.
Leave the installation up to us.
- We can install your new clothesline for you (available in Sydney ONLY).
- Our professional installers can fit and assemble your product and save you the hassle.
PLEASE NOTE: INSTALLATION ONLY ON DOUBLE BRICK. WE DO NOT INSTALL ON HIEBEL,GYPROCK, SINGLE BRICK or WEATHERBOARD. - PLEASE NOTE: These prices do not include special installations (eg Core Drilling).
🛠️ How to Install a Ground Mount Clothesline – Step-by-Step Guide
Installing a ground mounted clothesline is a straightforward DIY project that can be completed in a few hours with basic tools. Whether you’re installing into soil, grass, or concrete, this guide will help ensure a secure, level and long-lasting setup.
✅ Tools & Materials You’ll Need:
- Shovel or post hole digger
- Quick-set concrete (e.g. Rapid Set or similar)
- Spirit level
- Tape measure
- Spanner or socket set
- Water for concrete mix
- Optional: drill (if using base plates on concrete), anchors & bolts
👣 Installation Methods:
Option 1: Ground Installation (into soil or grass)
Step-by-Step:
- Measure and mark the distance between posts based on your clothesline’s width (e.g. 2.4m).
- Dig two holes approx. 200–250mm wide and 300–3500mm deep.
- Place the first post into the hole and then place the other post in the other hole
- Attach the spreader bars and that will give you the clothesline as a whole.
- Use a spirit level to make sure it is vertically straight.
- Pour quick-set concrete into the hole around the post. Add water per the instructions and mix in-hole. Support the post until set.
- Make sure to keep an eye on the spirit level to make sure the clothesline does not move too much.
- Finish leveling it out and compact the quickset concrete so the clothesline doesn't move whilst the concrete is curing.
- Wait 24-48 Hours
- Now you are ready to feed the line (refer to our youtube channel) for a smoother , hassle-free installation
- Congratulations!!
Option 2: Base Plate Installation (onto concrete or paved surface)
If using Outback Clotheslines Base Plates, follow these steps:
- Place one of the base plates at the starting point and drill only 1 hole and hammer a dynabolt in to that hole.
- Adjust the base plate to the angle you like and when you are satisfied then proceed to drill the other 2 holes on the base plate.
3. Slide in the post for that base plate and then add the two spreader bars and connect it to the other post.
4. Now you have the clothesline assembled and with one side already bolted down.
5. Proceed to bolt down the other leg.
6. Tighten the bolts with your spanner or socket until the bolts no longer turn, that means it is fully gripped.
7. Get your spirit level and leave it in the middle of the top spreader bar and see if it is level.
8. If it is level then drill the hex screws in to the base plate holes and that will prevent the legs from moving.
9. If it is not level then get a hex bit and drill one of the holes. Once you have achieved an equal level then you have our permission to drill the other 5 hex screws.
6. Now just feed the line , tighten and tie it.
Congratulations on the installation, we never doubted you! You can use it now.
📏 Tips for a Perfect Install:
- Standard install height is around 1.8m from ground to top of clothesline frame, but adjust based on your preference.
- Even rapid set mixes should be left for 24 - 48 hours before use.
- if you chip your posts or frames during install do not stress, just add touch up paint and that will protect it from rusting. If you do leave it exposed then it will rust
🧺 Done! You're Ready to Dry Clothes the Outback Way
Once installed, your Outback Clothesline will provide years of reliable drying with minimal maintenance. Built from fully welded, powder-coated steel and steel fixings, it's made to withstand Australia’s harshest climates.
🔧 How to Install a Wall Mounted Clothesline – Step-by-Step Guide
Installing a wall mounted clothesline is a simple DIY project for most homeowners. Whether you’re mounting to brick or concrete, this guide walks you through the process for a secure and level installation.
✅ Tools & Materials You’ll Need:
- Power drill + masonry plugs which are provided by us
- Tape measure
- Spirit level x 2
- Socket wrench
- Wall plugs/anchors (included or choose suitable for your wall)
- Hammer
🛠️ Installation Instructions:
Step 1: Choose the Mounting Location
- good airflow and sunlight (if outdoors).
- 100mm clearance on either side for folding arms.
- 1.8m from ground to top of the frame, but adjust for your needs.
Step 2: Measure & Mark
🧱 Tip: For brick walls, drill into the brick (not the mortar) for a stronger hold.
- Drill the first bracket and use the spirit level to make sure the bracket is straight and hammer in the wall plugs, tighten the screws until the frame is tight.
- Slide the spreader bar in to the arms of the installed bracket
- Now you have established the width and proceed to slide it in to the other sides arm
- Place a level on the spreader bar and another on the bracket that is remaining to be installed. Achieve level of the spreader bar and of the wall bracket.
- Proceed with drilling the other bracket, hammer in the wall plugs and tighten the screws.
- Now the clothesline is solid and now feed the line, tighten it and make a knot.
🏡 Done! Your Wall Mounted Clothesline Is Ready to Use
With your new Outback Clothesline securely installed, you can enjoy years of easy, space-saving drying. Designed for durability and made with powder-coated Steel, these wall-mounted clotheslines are built to handle everything from small loads to sheets and towels with ease.
